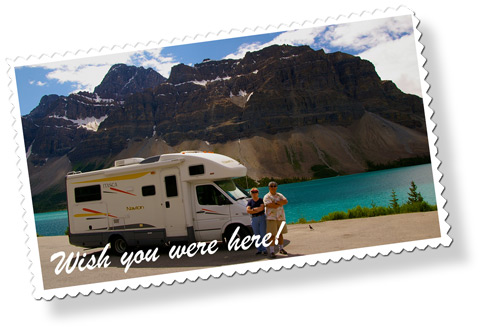
| Modifying the Water Service Center Door on a 2006 Itasca Navion 23J to Allow 180 Degree Opening |
| (and stop having to bend over double to work in the WSC) |
|
by Ellsworth Chou
|
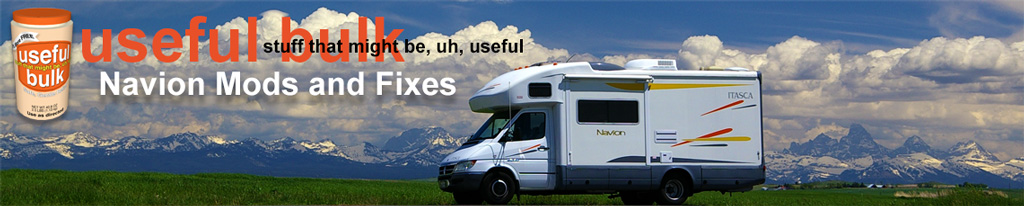
Winnebago designed the Water Service Center door's strut geometry on our 2006 Navion 23J to hold the door at 90 degrees to the left wall of the vehicle - parallel to the ground. I found this ridiculous. One has to bend over almost double or get their their hands and knees to attend to the daily tasks of managing waste tanks and connecting and disconnecting city water lines. Adding injury to insult, the edges of the plastic skin on the WSC door are sharp, so the getting one's arms, hands, or even head scraped is inevitable during daily RVing activities.
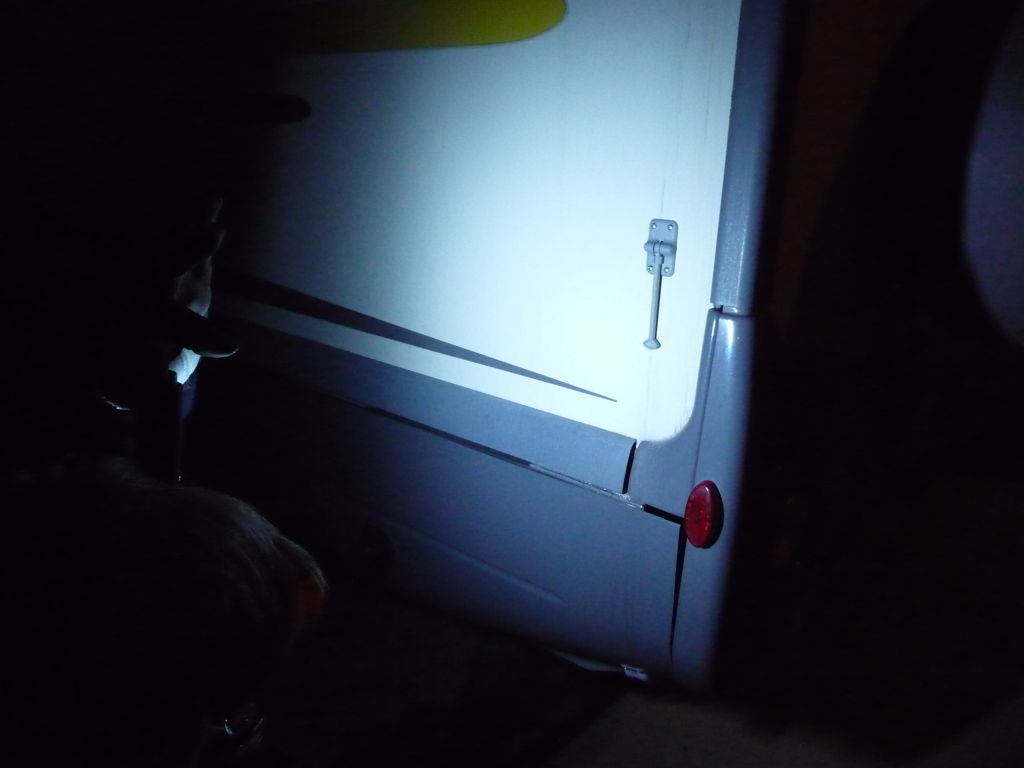
On the 23J model (see the photo at the top of this page), the solution is readily apparent. The forward propane refill access door on the same left side as the WSC door has instead of a gas strut, a T-shaped hook. This folds the door almost flat against the (retracted slide-out) surface above, offering maximum access to propane fueling activities.
(click and hold on any image to zoom in desktop browser)
THE PARTS
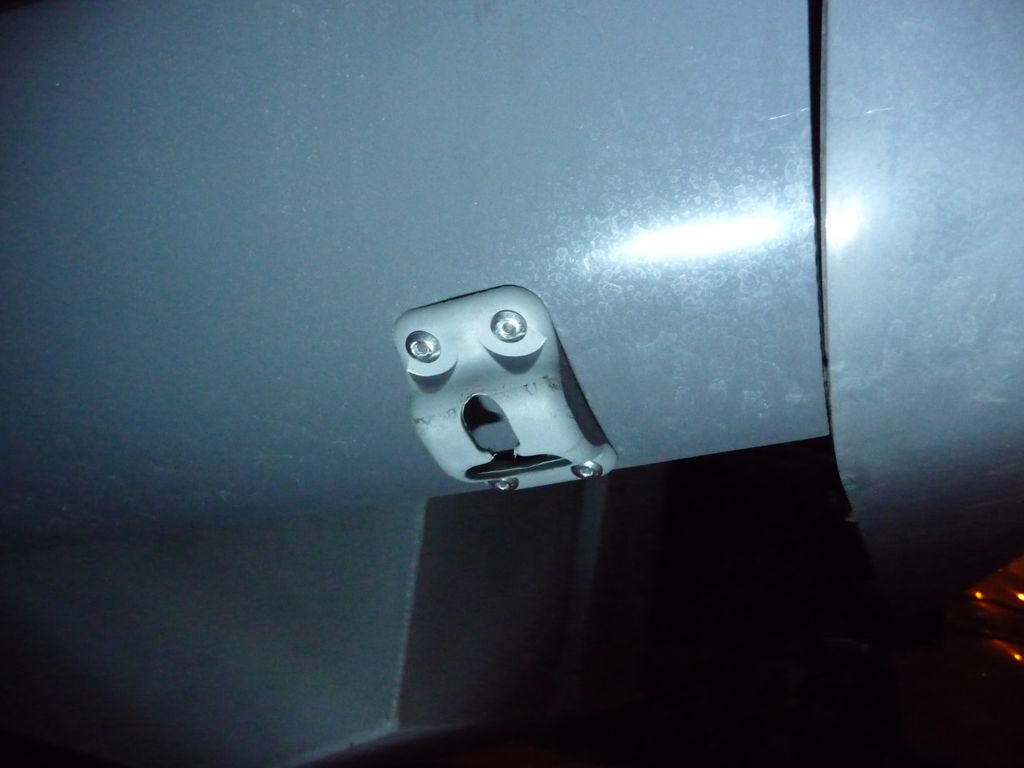
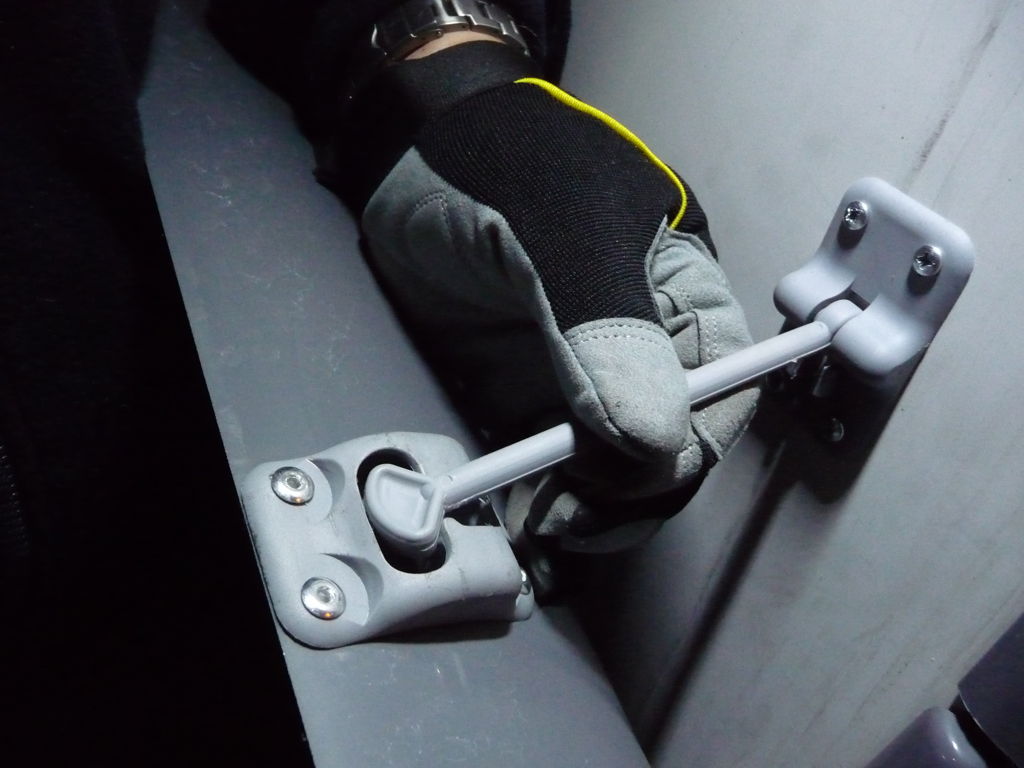
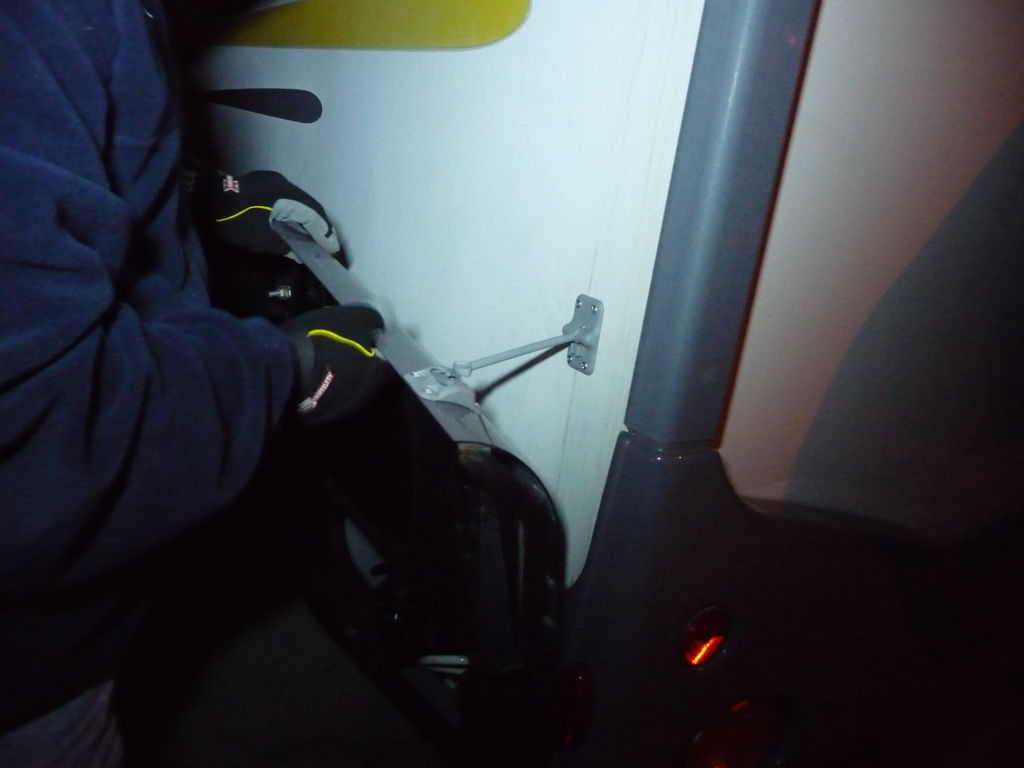
I used a "T-style compartment door holder" which matched the existing plastic holder at the LP access door. I've seen them in white, grey and black - I eneded up with a grey model that sort of matched the door plastic. In retrospect, if I'd purchased a white and grey set, I could have matched the white body panel with the hook and the grey door with the receiver. I think the model I installed was called a "6-inch" model (I'm writing this page ten years after the fact) - referring to the length of standoff of the T-shaped "hook." These are available in different lengths, in steel, and with the hook bent at various angles to accommodate holding man-doors open at various opening angles.

Removing the original gas strut is straightforward. With many gas strut mounting systems, the end of the strut is disconnected by pulling the strut's socket straight off the ball mount. Some systems have retention clips that can be pried away with a screwdriver or other tool (be careful that these can shoot away at eye-poking speeds).
I did all the mounting with pop rivets. They're very secure, visually tidy, and by nature gap-filling. They also offer minimal intrusion into the space behind the work piece. Where drilling through the outer skin of the RV, be very cautious about what you might be drilling into behind the surface. If you're concerned about over-penetration of the skin, you can add a depth-control device like a piece of rubber tubing or a wrap of tape around the drill bit as a depth stop. When using pop rivets, use absolute minimum drill diameters for the pop rivet size (i.e., 1/8" bit for a 1/8" rivet - it should be a friction fit).
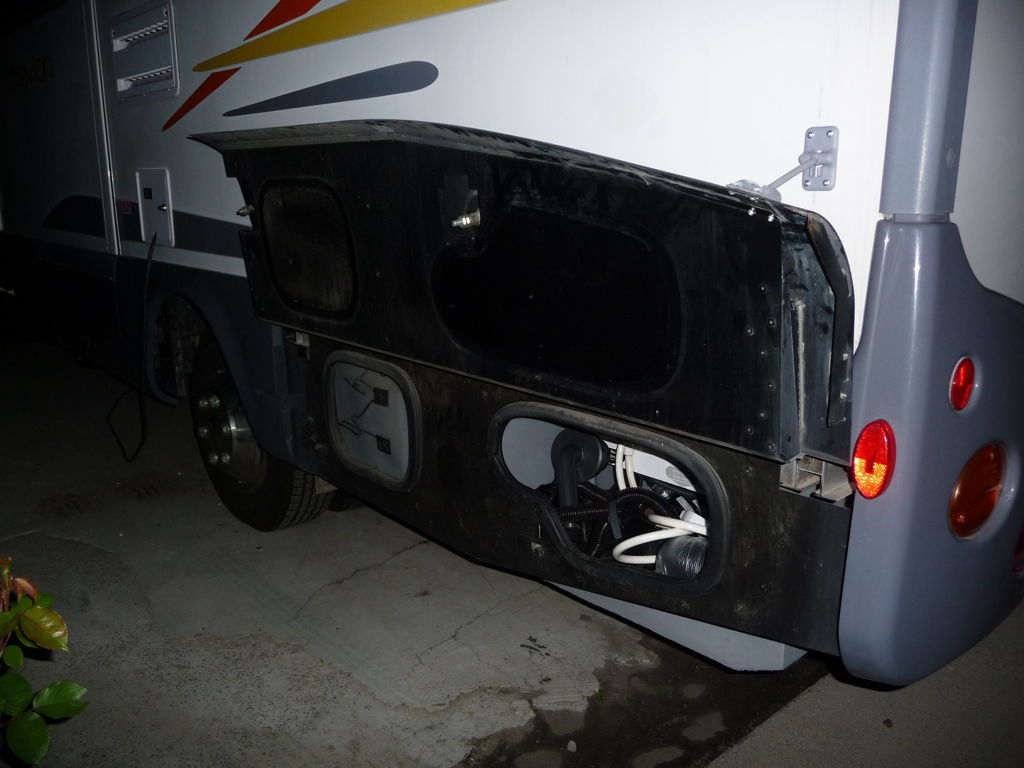
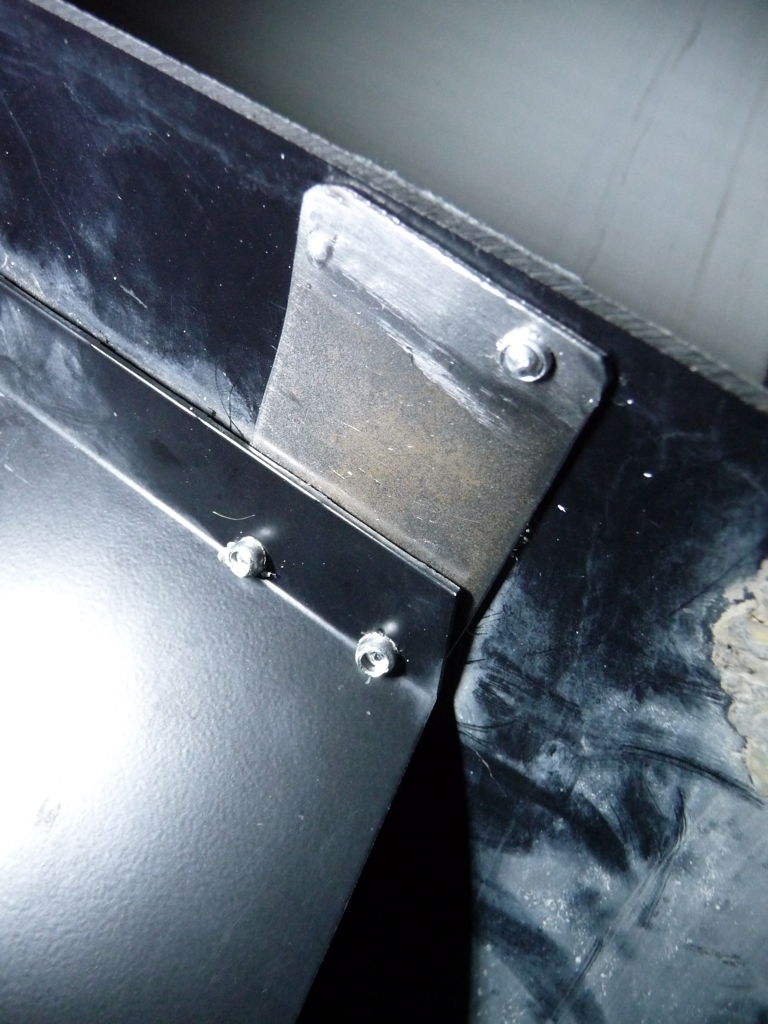
Mounting the T-style hook to the wall of the motorhome was very straightforward. Mounting the hook's receiver to the door created a few challenges. I think I just wanted the hook to visually be at the edge of the side panel, but the taper of the door toward the rear of the vehicle meant that the hook's receiver would be mounted on a surface that is not perpendicular or parallel in any plane with the hook. My sense of aesthetics also defined that I wanted the bottom of the receiver (see photo above) to be aligned with the bottom edge of the Water Service Center door edge. I determined that the hook would actually function fine if the receiver was mounted at a slight angle to the hook.
My chosen location for the receiver was located at a part of the door with little structural integrity - it was mostly the last inch and a half of cosmetic plastic outer panel. Furthermore, at the latched position, the outside of the door is ever so slightly compressed against the side of the Navion - so there's a small bit of tension against the latching mechanism. This was enough to bend the plastic skin of the door. To bear the load, I added a steel plate as reinforcement. I made the plate to match the curvature of the inside of the door skin opposite my selected mounting location for the receiver, and pre-drilled it for the rivet holes. Two of the holes lined up to go through a steel inner door structure, which tied that steel door, the plastic door skin, my steel reinforcement plate and my door hook receiver together via pop rivets. Perfect.
 |
All contents Copyright 2013-2023 Ellsworth Chou |